Walkthrough

Collectibles

The four sets total 76: 19 clay figurines, 25 Shellphones, 17 gramophone discs and 15 Murkle story pages, also called reels. Find each pickup in the 76 source-linked location cards below, grouped into six chapter routes, then review your collection in Housy.

Source-based research, not a hands-on collection run. All 76 locations below are summaries of the linked 100% Guides route, not original screenshots or independently tested pickups. Our continuous F/D/S/R IDs count figurines/discs/Shellphones/reels; repeated source numbers are corrected, not treated as missing items. Chapter transitions can be grouped differently in other guides.

By chapter

Six-chapter checklist from the research dossier's reconciled IGN/GameRant lists. Columns sum to 19 / 17 / 25 / 15 and 76 overall.
ChapterFigurinesDiscsShellphonesStory pagesTotal
1 The Burnt One433111
2 The Loathsome Molgrim339419
3 Coalhaven556521
4 The Craftsman's Heart223310
5 The Dark342211
6 Moon Mountain20204

Open Story > Visit Housy from the main menu to review the collection. Figurines fill the cupboards, discs change the house music, and story pages play through the projector. Use chapter select for a missing item; a missed pickup does not require a new save. Check the tale name and nearby landmark when a source uses a different chapter number.

Follow the cards in chapter route order. F = figurine, D = disc, S = Shellphone, R = Murkle reel. Each card links to its original 100% Guides paragraph using a text fragment; unsupported browsers open the full guide. That source prints disc #11 twice and figurine #17 twice, so its final printed numbers 16 and 18 are not category totals. Our IDs retain all distinct entries. Directions follow that source's approach, not a personal collection run.

Chapter 1 locations

Chapter 2 locations

R02 — Who Took The Sun Away?After the Potboy house visit, reach the first blue-eye door and inspect the hatch to its left.S04 — ShellphoneContinue along the main path after that door; collect it just after the left turn.S05 — ShellphoneAt the hiding tutorial, pass the wardrobe and crawl through the small opening on the right. Collect it on the far side.D04 — GransEscape the creatures hatching from eggs and crawl through the exit hole. Turn left and inspect the hatch at the road's end.R03 — Who Took The Sun Away?Pass the NPC speaking at the bonfire, then inspect the hatch on the left of the path.S06 — ShellphoneAfter reuniting with Housy, follow the path until it darkens around two white eyes. Look left near the matchbox.F05 — The HeadmasterAfter the title card, approach the heads calling you Limb Tree. The hatch is on the left before them.D05 — NobodyvilleSolve the candle bridge puzzle and pass the opened gate. Check the hatch on the right beyond it.S07 — ShellphoneAfter receiving the Matchlock from the Headmaster, take the left path into the small building.S08 — ShellphoneAfter the flying contraption lands in the swamp, check the right edge of the main path.F06 — The Old ManRecover Potboy in the candle cave, then return to the swamp junction with three blue candles. Take its left branch to a hatch.S09 — ShellphoneCrawl through the hole right of the Old Man hatch. In the three-mask area beyond, look on the left.D06 — The SparkReturn to the three-blue-candle junction and take the right branch. Past the giant guitar, turn left onto the small island with a hatch.S10 — ShellphoneContinue along the right branch to a pipe and cauldron. Check beside the pipe.R04 — Who Took The Sun Away?Use the nearby cauldron to raise the crossing platform. On the far side, inspect the hatch left of the flying contraption.S11 — ShellphoneRepair the three-shard cauldron and get the Headmaster's exit key. Beyond the locked exit, check the right of the path.F07 — The MolgrimContinue past that Shellphone to the open area with an NPC. Inspect the conspicuous hatch there.R05 — Who Took The Sun Away?After the eye interaction and Housy reunion, pass the bodies walking toward you and check the hatch on the right.S12 — ShellphoneCollect it immediately beside the previous story-page hatch, after the approaching bodies.

Chapter 3 locations

D07 — All Darkness VanishesAt the opening umbrella NPC, take the path on the right and inspect its hatch.S13 — ShellphoneAfter leaving Housy at this stop, turn around rather than immediately continuing onward.R06 — Who Took The Sun Away?Inspect the hatch on the right side of the giant cat.D08 — I TrappanIn the first mine area with tracks, a central hole and orange plants, inspect the hatch on a block across the hole.S14 — ShellphoneIn the dark rail tunnel, light the candles. At the first candle-side rail fork, take the right track to another candle and the Shellphone.F08 — The MoonbirdContinue along the dark rails to their next fork. Take the right track to the hatch.D09 — Alla SoverFollow the tracks until you drop from a small ledge. Inspect the hatch immediately on your right after landing.R07 — Who Took The Sun Away?Outside the rail cave, stay near Potboy and the candles to avoid freezing. Check the hatch just before the third candle.S15 — ShellphoneAfter the snowy crossing, enter the village and check beside the well where the eye appears.D10 — Trostetankar I JuletidLight the first gas boiler and go through the door it opens behind itself. Take the left branch to a hatch.S16 — ShellphoneLight the second boiler and use its newly opened door. Check left of the wardrobe in the open area.F09 — The SoulfisherFrom that Shellphone, take the left route under the small bridge. Climb the stairs on the right just beyond it.F10 — A Nameless CreatureReturn to the open area and cross the middle bridge over the frozen lake. Turn left beyond it, then climb the right-hand set of stairs.D11 — The LullabyOn the far side of that bridge, find the sealed well. Take the staircase to the well's left to reach the hatch.R08 — Who Took The Sun Away?Return the Thief's leg to open the second bone route. In the settlement beyond, inspect the hatch left of the first NPC.F11 — The CrawlerOn the hill-house route, sneak past Crawlers and obtain the key. Check the visible hatch on the main path after leaving the key area.S17 — ShellphoneEnter the house on the hill used for the Thief's left-arm objective. The Shellphone is inside.F12 — Auntie MurkleReturn the left arm to the grave. Go through the final-route door that opens, then inspect the hatch on the right.S18 — ShellphoneJust beyond Auntie Murkle's hatch, reach the NPC group. Take the left uphill path.R09 — Who Took The Sun Away?At the NPC holding the skull, inspect the hatch on the right.R10 — Who Took The Sun Away?Finish the bones quest and leave through the wardrobe in front of the giant cat. On Housy's route, inspect the left hatch before the bridge crossed by a creature.

Chapter 4 locations

Chapter 5 locations

Chapter 6 locations

Chapter routes and collection review
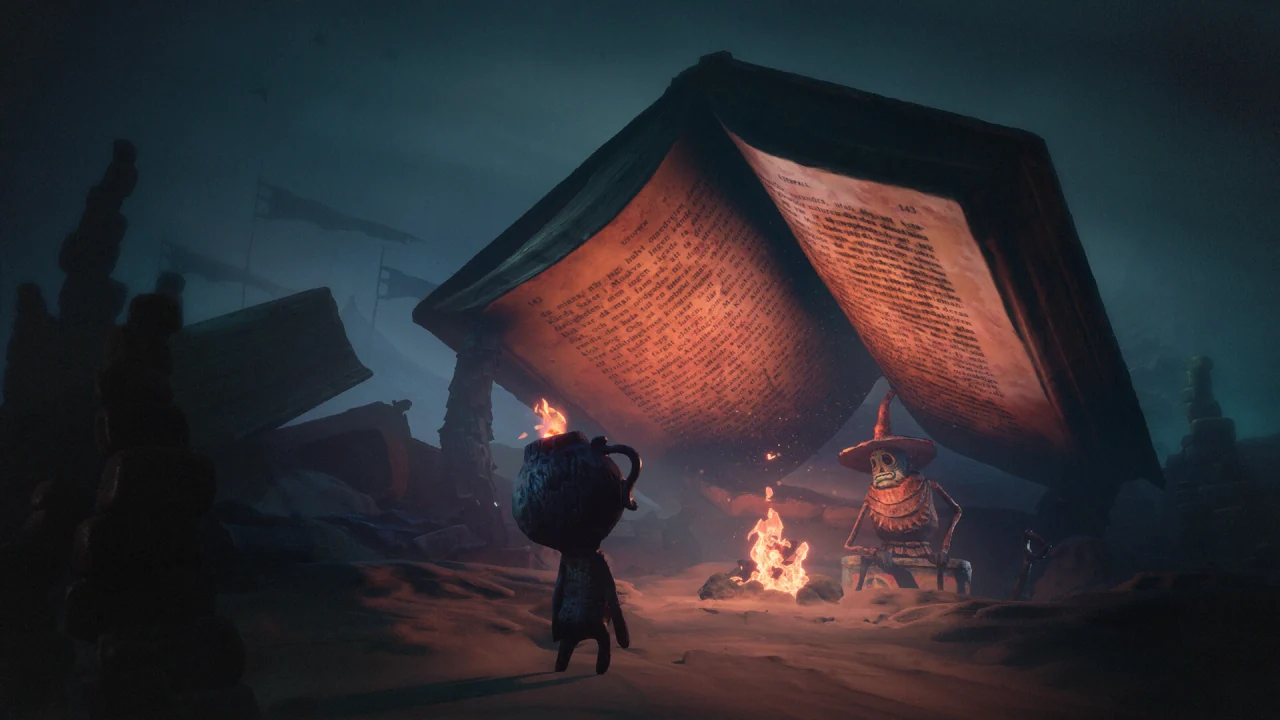
A clay figure and a small campfire beside a giant open book
Official Steam screenshot. © MoonHood / Fast Travel Games.
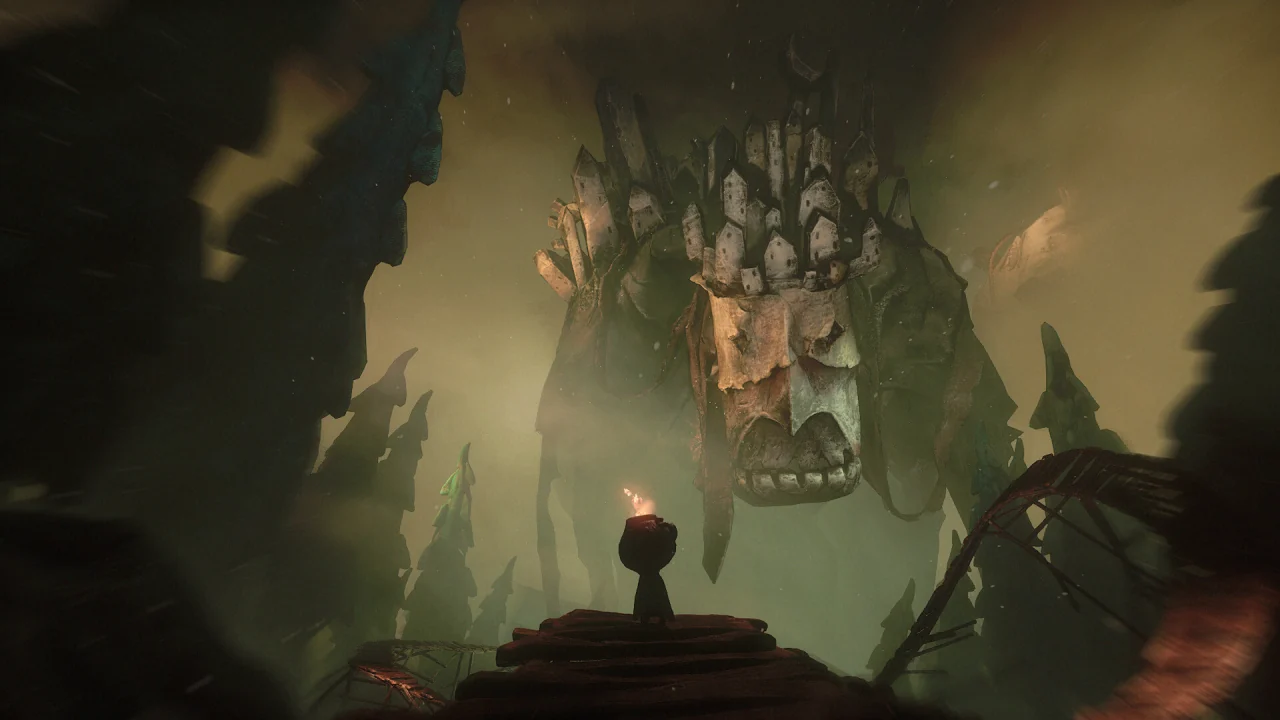
A walking clay house with a village built on its head
Official Steam screenshot. © MoonHood / Fast Travel Games.

Some trophy guides and trackers give conflicting item totals or repeat pickup numbers. The itemised category totals are used here, not tracker counters. Chapter splits follow the existing six-chapter research checklist; individual locations have not all been independently replayed or rechecked in this revision.

Questions

Are any collectibles permanently missable?

No. You can miss them during a chapter, then return with chapter select.

Where do I see what I own?

Inside Housy. Figurines sit in cupboards sorted by chapter.

Why do some sites say 21 figurines?

A trophy-tracker counter disagrees with the itemised lists. Use 19.

Keep going

Sources checked 23 October 2026