Source-based research, not a hands-on playtest. The published route supports the console controls and shard objectives; no personal run or tested button sequence is claimed.
Beats
- At Nobodyville's entrance, fetch the Paper Stick from behind the heads, between the fallen logs. Fit it to the console. Side levers position the two rings; the middle lever raises or lowers the selected candles. Raise all six, then send Potboy across to light them.
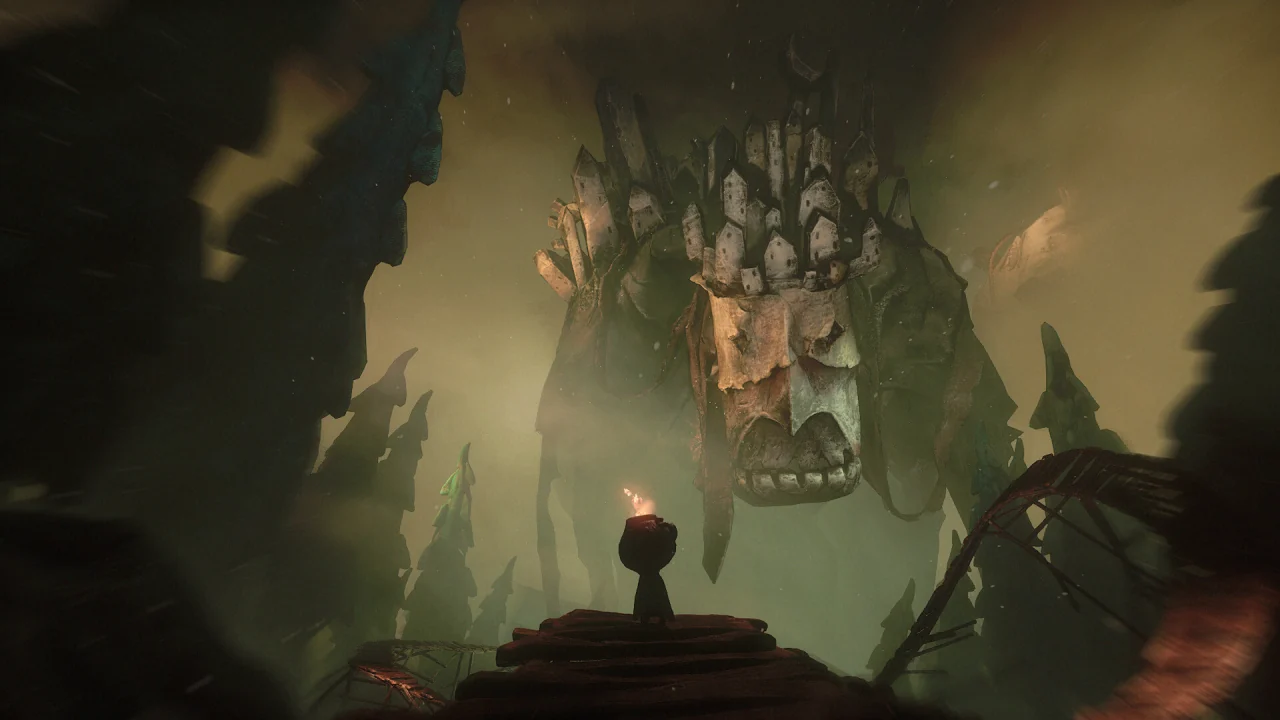
- Meet the Headmaster and receive the Matchlock. After the Molgrim takes Potboy, use cover and candle distractions to recover him; this is a rescue, not a damage-based boss fight.
- At the swamp's three guide candles, follow the branches for the Trinity, Heart and Moon shards. Trinity requires three masks; return Headvig to the pedestal for Heart. On the Moon branch, use the Reading the Stones clue to order the candle pictures.
- Return all three shards to the cauldron and send Potboy into its pipe. Pump the fire three times. Take the wardrobe shortcut back to the Headmaster, then use the reward key to leave Nobodyville.
Checklist: 19 items (3 figurines, 3 discs, 9 Shellphones, 4 story pages/reels). For Mind Over Body, after receiving the Matchlock, visit the small room left of the Headmaster and approach its guillotine with Potboy. Completing the tale earns The Tale Of The Loathsome Molgrim.
Collection route and exit check
The 19 locations cover F05–F07, D04–D06, S04–S12 and R02–R05. Start before the title card: the blue-eye door, hiding tutorial, egg escape and Housy approach contain pickups too. Sweep Nobodyville before entering the swamp, then check the three-blue-candle branches for the Old Man, mask-area Shellphone and island disc. After the Headmaster's exit key, collect the final Shellphones and page around the approaching bodies before leaving for Coalhaven. Use the Molgrim/Crawler links for evasion and the puzzle page for the candle bridge and shard routes. The optional guillotine near the Headmaster is Mind Over Body; the chapter-completion trophy is separate. Chapter 1 is the previous route and chapter 3 continues from this exit.

Questions
Can I kill the Molgrim?
No. The sequence is stealth and rescue. There is no health bar.
What is the Matchlock?
The tool introduced in this chapter for lighting and stunning, including a charging Grinner later. It is not a combat gun.
How many Shellphones are here?
Nine of the 25 Shellphones are in chapter 2.
Keep going
Sources checked 23 October 2026
- 100% Guides — chapter 2 collectible locations — All 19 chapter-2 location paragraphs read 23 October 2026; our collection page links to each individually.
- The Review Geek — Nobodyville route — Console, shard objectives and exit checked 23 October 2026.
- 100% Guides — Mind Over Body — Optional guillotine event; collectible totals in this source are not used.
- IGN — Tale of The Loathsome Molgrim — Checked 22 October 2026.